Echipamente Motociclete și Scutere | M2Adventure
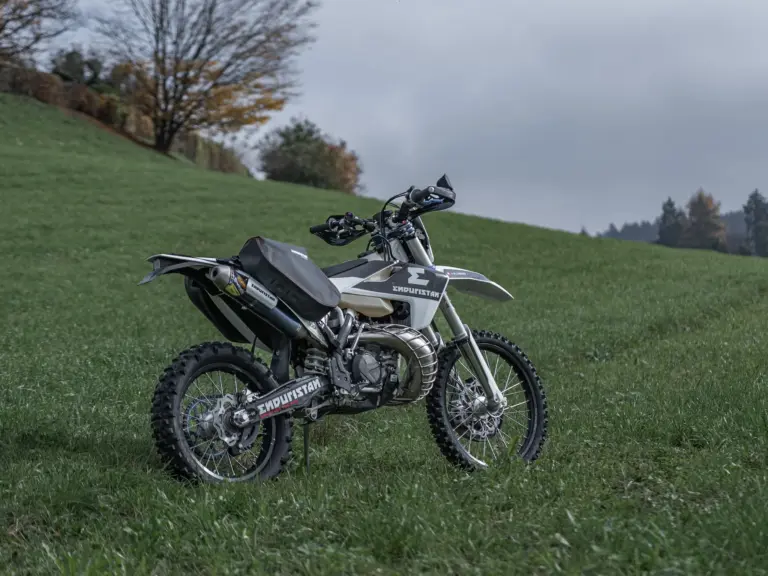
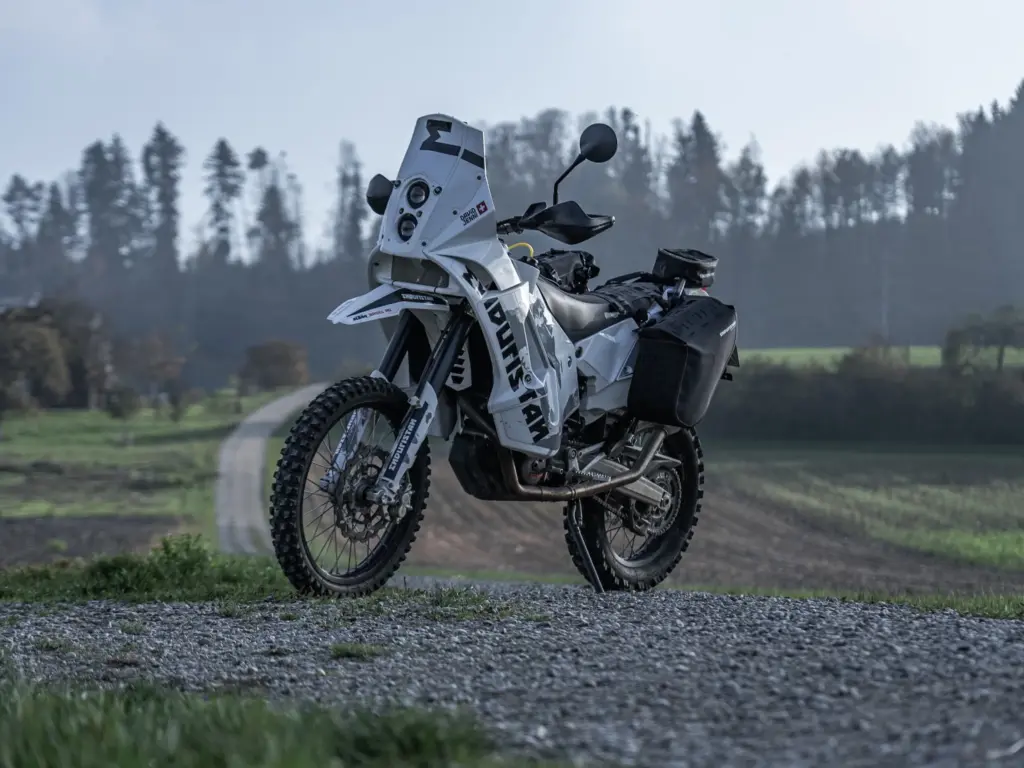


Genți laterale Enduristan Blizzard (S-XL) - set 2 bucăți


Livrarea a fost la timp, produsul arata bine, instalarea a fost usoara, dar manualul online de rate are cateva greseli cu numarul si denumirea pieselor, dar nimic grav.
🌐 Recenzie originală (Engleză), de pe GP Kompozit Global:
The delivery was on time, the product looks good, the installation was easy, but the online instalment manual has some mistakes with the number and parts name, but nothing serious.

merge/se potriveste?
răspuns scurt: Da
Răspuns lung:
Se potrivește, dar are o formă de potrivire foarte ciudată, m-am cam enervat, dar după un timp a funcționat.
Practic le inserați ca orice paranteză de navigare, DAR!
nu asamblați încă bara de suport gri,
mai întâi puneți panourile pentru parbriz, odată ce ați terminat, doriți să introduceți încet bara gri pe părțile superioare, iar acum doriți să introduceți încet părțile laterale.
Dacă îl așezi înainte de a-l pune pe parbriz, nu se va potrivi
TLDR:
mai întâi: puneți partea stângă și dreaptă a parbrizului
al doilea: odată ce ați terminat, apucați bara gri și cele două șuruburi
al treilea: introduceți încet partea stângă și dreaptă, înșurubați puțin la stânga, apoi la dreapta până când este în poziție
Link-ul video, din păcate, nu funcționează și nu a fost dat niciun manual
Pentru aceasta aveți nevoie de șuruburile originale ale parbrizului.
pe langa asta foarte bine
🌐 Recenzie originală (Engleză), de pe GP Kompozit Global:
does it work/Fit?
short anwser: Yes
Long anwser:
It fits but it has a very weird fitting shape i was kind of getting annoyed, but after a while it worked.
You basically insert them as you would any navigation bracket, BUT!
do not assemble the gray bracket bar yet,
first put the pannels for the windscreen in, once thats done you want to slowly insert the gray bar on the top parts, and now you want to slowly insert the sides
If you put it together before you put it on the windscreen it will not fit
TLDR:
first: put the left and right side of the windscreen
second: once thats done grab the gray bar and the two screws
third: slowly insert the left and right side, screw a little to the left, then to the right until its in place
The video link unfortunately does not work and no manual has been given
You need your original screws of your windscreen for this.
next to that very good

foarte bun ușor de montat serviciu excelent
🌐 Recenzie originală (Engleză), de pe GP Kompozit Global:
very good easy to fit excellent service

Aceasta a fost a doua mea achiziție a aceluiași articol. Mi-am rupt prima pereche în timpul traseului offroad, am îndepărtat partea ruptă și zgomotul vântului a fost vizibil. Excelent pentru o plimbare confortabilă.
🌐 Recenzie originală (Engleză), de pe GP Kompozit Global:
This was my 2nd purchase of the same item. I’ve broke my 1st pair during offroad trail, removed the broken and the wind noise was noticeable. Great for comfort riding.

Crash bar a sosit extrem de repede, ambalaj foarte bun. Materialele sunt de foarte buna calitate. Dimensiunea a fost exactă și foarte ușor de instalat. L-as recomanda tuturor.
🌐 Recenzie originală (Engleză), de pe GP Kompozit Global:
Crash bar arrived extremely fast, very good packaging. The material are very high quality. Size was exactly and very easy to install. I would recommend it to everyone.
Descoperă noua generație – Blizzard 2